Tailwind CSS
Tailwind CSS is a utility-first CSS framework for rapidly building modern websites without ever leaving your HTML.
Setting Up
Setting up Tailwind CSS for your project inherently depends on your web framework, notably where your CSS static files will be. However, I will provide an example set up guide for you to have a base on. Ensure you have Node.js installed or the standalone CLI installed in your PATH.
Note
This guide assumes:
- Your Python source code is in a folder called
app - Your input CSS file at
app/css/base.css - Your static directory is at
app/static - The output file will be at
app/static/style.css
- Install Tailwind CSS
- Inside
tailwind.config.js, add your Python source code directory tocontent - Add Tailwind CSS directives to your input CSS file
- Start Tailwind CLI build
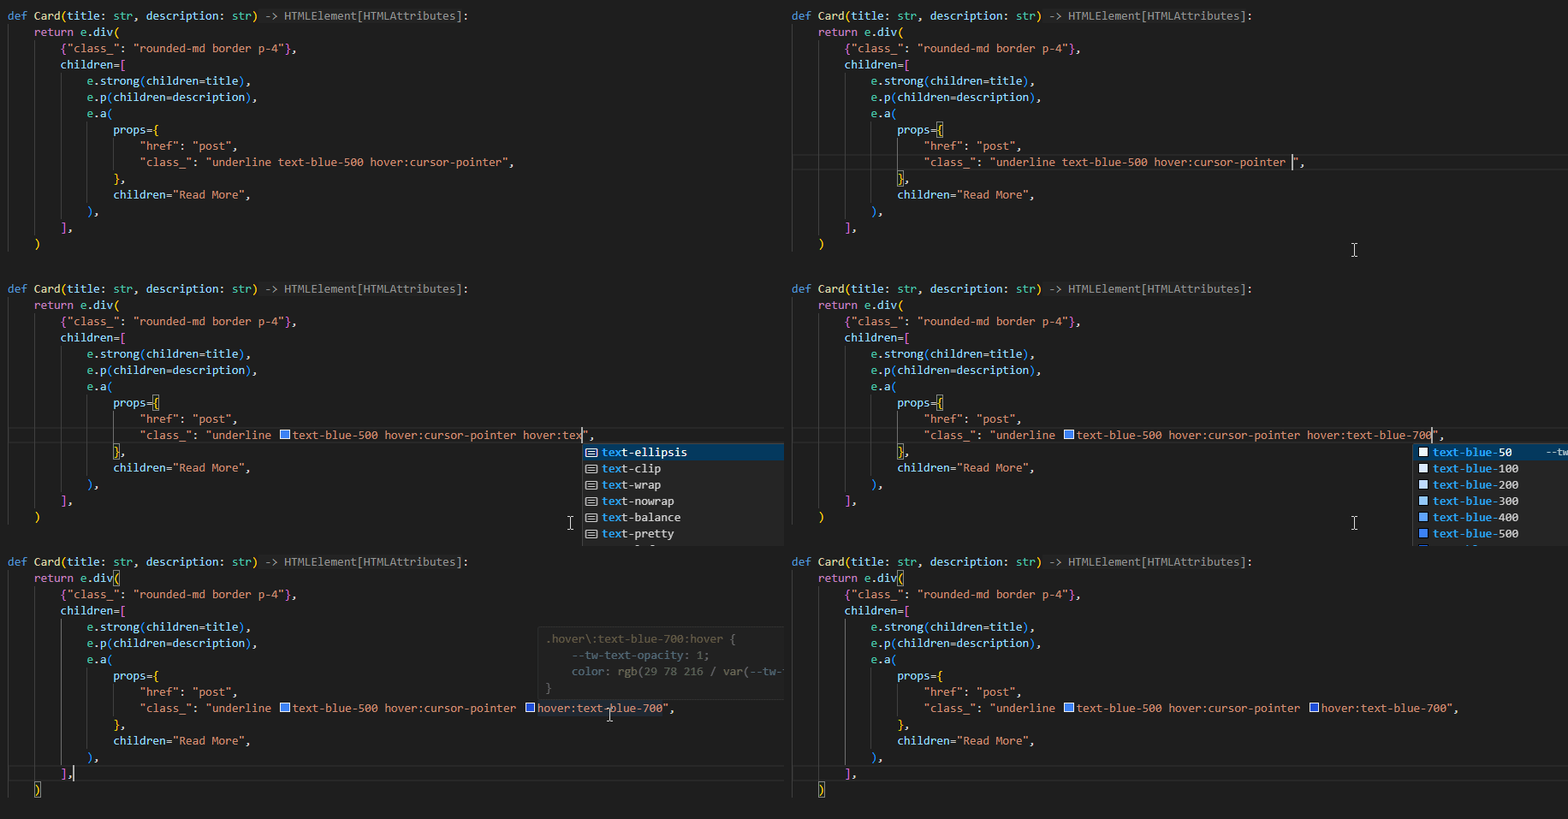
- If you are using Visual Studio Code, follow next steps to get Intellisense working
Code Configuration
Because Liku is not using HTML syntax, Tailwind CSS Intellisense does not work as expected. To fix this, add the following custom regex rule for Tailwind CSS plugin in your Code config:
